Tools and Materials Needed
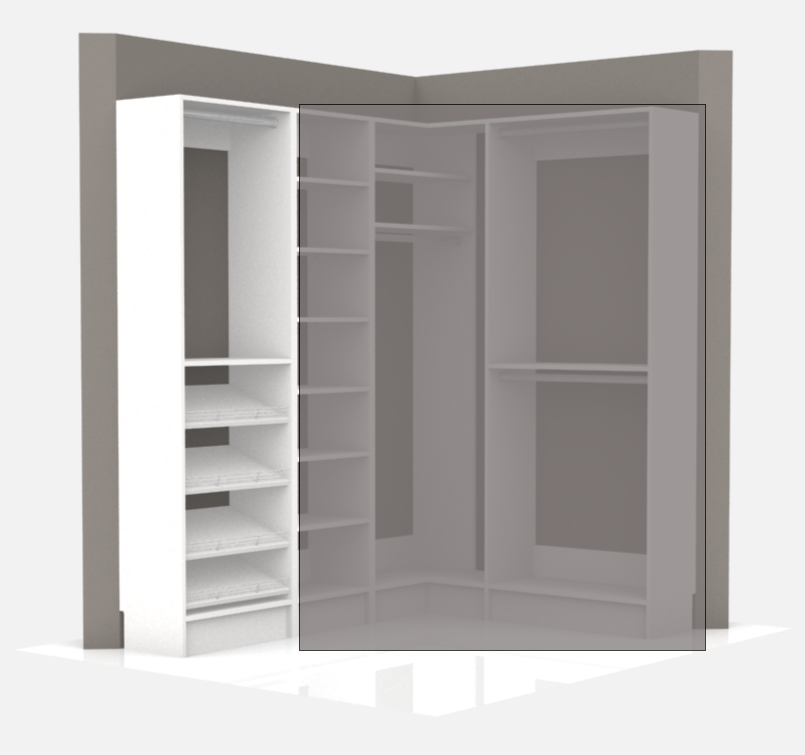
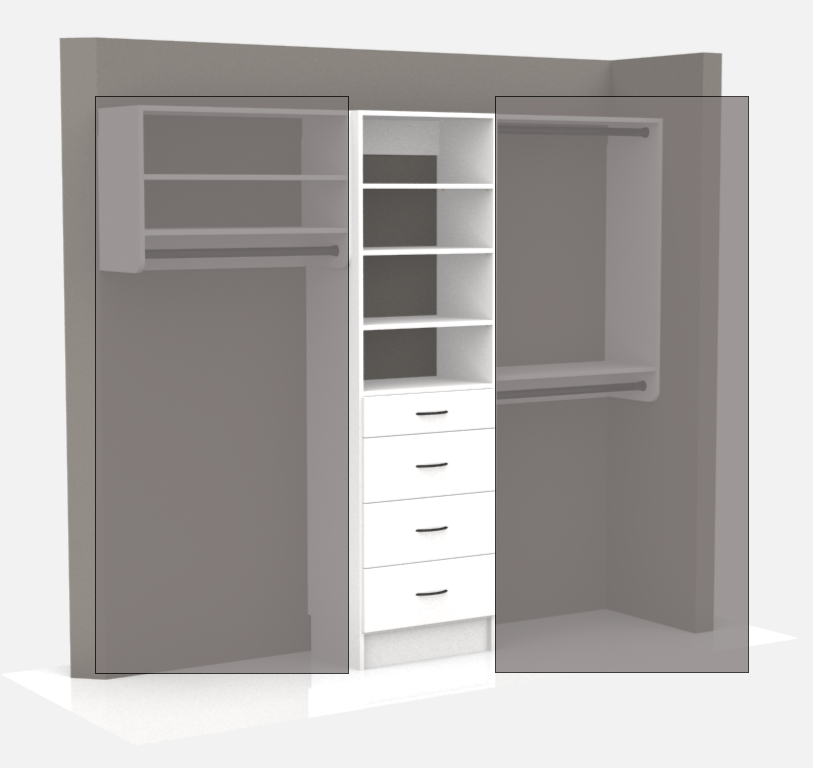
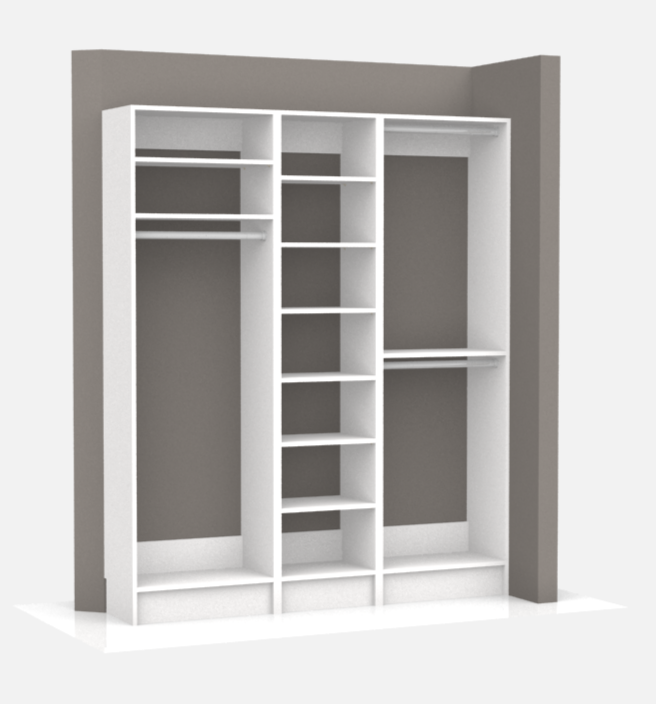
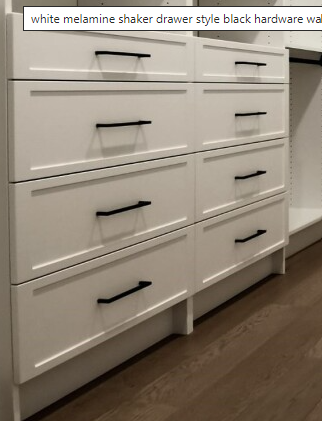
Before embarking on your closet installation journey, it’s essential to gather all the necessary tools and materials to ensure a smooth and efficient process. Start with basic hand tools such as a hammer, screwdriver set (including Phillips and flathead), a power drill with various drill bits, a level, a tape measure, and a stud finder. If you’re comfortable using one. Additionally, have a set of wrenches and pliers at hand for any adjustments. In terms of materials, ensure you have all the closet components, including shelves, rods, gables, drawer boxes, and hardware like screws, nails, and brackets. It’s also wise to have some extra items like wood glue, sandpaper, and double-sided tape for minor fixes. Safety equipment is paramount, so include protective eyewear, gloves, and possibly a dust mask. By being prepared with these tools and materials, you’re setting yourself up for a successful and hassle-free installation.
Preinstallation Checklist
Read Through the Instructions: Before beginning, take the time to thoroughly read through the installation guide. Understanding each step in advance will help streamline the process.
Check All Components: Ensure you have received all necessary components for your closet installation. Cross-reference the parts with the inventory list provided in the guide.
Prepare Your Tools: Gather all the tools listed in the “Tools and Materials Needed” section. Make sure your power tools are charged or you have access to an electrical outlet.
Measure Your Space: Carefully measure the area where you plan to install the closet. Verify these dimensions against the specifications of the closet system to ensure a proper fit.
Inspect the Area: Check the walls for levelness and the floor for evenness. Identify any potential obstacles such as outlets, switches, or vents that might affect the installation.
Locate Wall Studs: Use a stud finder to locate the studs in the walls where you will be securing the closet components. Marking these will be crucial for a secure installation.
Clear the Workspace: Remove any existing furniture, decorations, or obstacles from the installation area. Ensure you have enough room to work comfortably.
Protect the Area: Consider laying down drop cloths or protective sheets to safeguard your flooring and nearby furniture from dust or damage during the installation process.
Safety First: Prepare your safety gear, including protective eyewear and gloves. Ensure your work area is well-lit and ventilated.
Ask for Assistance: Some steps in the installation may require an extra pair of hands. Plan ahead and ask a friend or family member for help if needed.
